RTOS Simulator

I studied Computer Engineering at the university of massachusetts lowell. A large portion of my studies involved hardware and embedded programming. For most of my career, I have shifted focus to software only development in Python, Java, and Javascript. Was thinking back about hardware related projects I have done in the past, and reflecting on how much I enjoyed them.
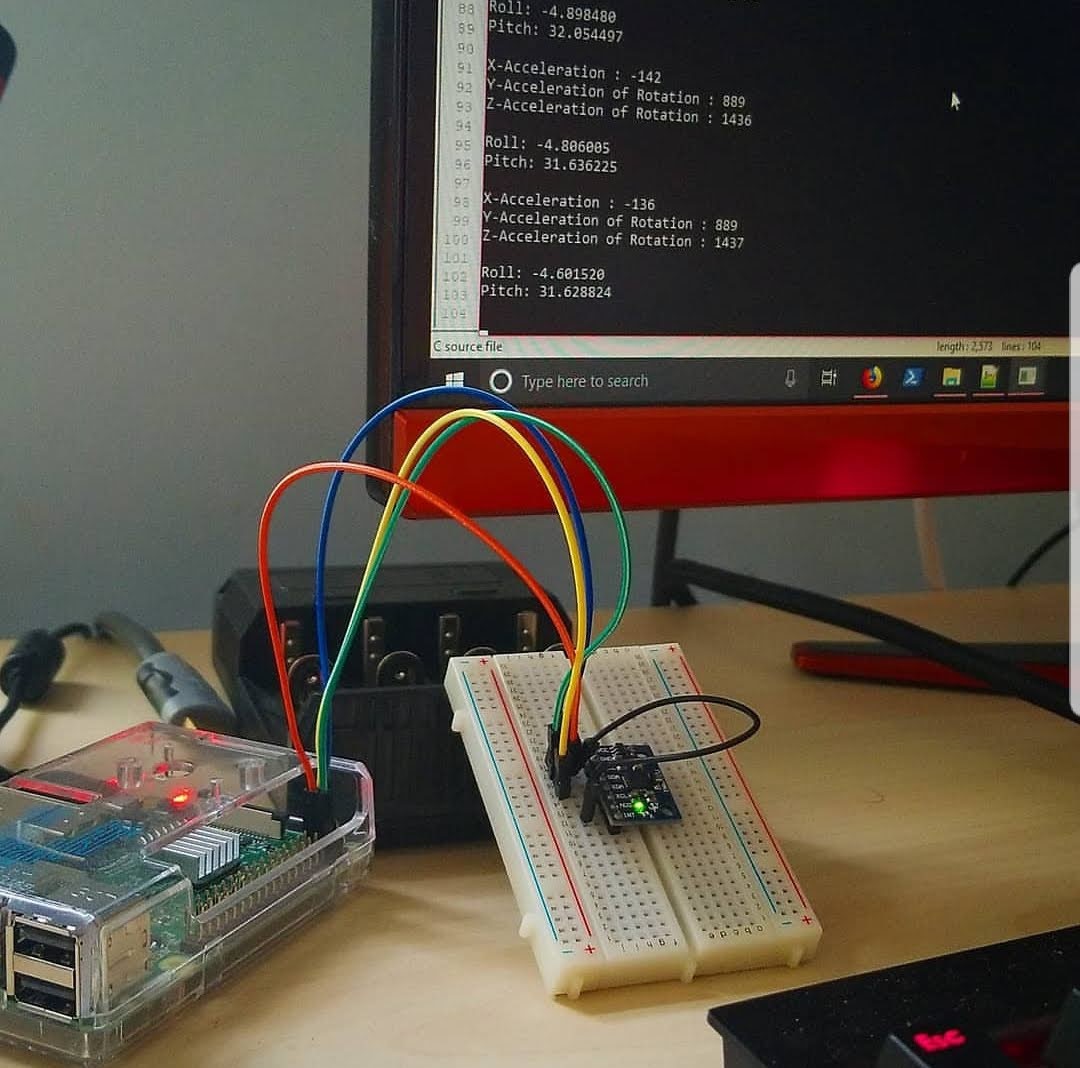
One project was a gy_521 Accelerometer driver for the raspberry pi, written in C++. The driver uses the I2C protocol to communicate with the chip.

My Senior capstone project was a technology assisted telescope. It used an arduino to read an accelerometer, which was attached to the side of the telescope. At the same time, the arduino communicated with the connected laptop, which was running Stellarium. The measurements from the accelerometer, would live update on Stellarium to show a reticule based on where the telescope was positioned.
What Is a Real-Time Operating System (RTOS)?⌗
Read more about what an RTOS is here: RTOS EXPLAINED
A RTOS is event driven and time sharing. It’s a stripped down and lightweight operating system that runs on embedded devices. It executes tasks within milliseconds or less, unlike general purpose operating systems (Windows, Linux, MacOS, etc). This is important for mission critical devices, like airbag deployment in a car. Any lag can result in injuries or fatalities.
The reason why GPOS’es take longer is because of all the other overhead included in the operating system. General Purpose OS’es are perfect for web servers, Graphical Applications, Command Line Programs etc, where timing and delays are not critical.
FreeRTOS⌗
There are many variations of RTO’es available. A few examples (but not limited to)
I’m going to be exploring FreeRTOS because it’s one of the most popular RTOS used today. In the future, I want to explore Zephry and Mbed OS. I do not have an STM board available for running the code on physical hardware.
I have been looking at getting this board in the future.
Setting Up The Simulator⌗
I’m going through the Windows instructions. If you’re running linux, you can follow along with the instructions here. The Windows Instructions included as well.
I recommend installing Visual Studio Community, but you can also use eclipse.
- Download the freeRTOS Kernel Source
- Extract the downloaded zip file
- Navigate to the following directory, from inside the extracted zip archive
.\FreeRTOS\Demo\WIN32-MSVC - Open the
WIN32.slnfile with visual studio - Build and Run the project
If all goes well, you should be running the blinky example. A console window should appear with diagnostics about sending and receiving messages. If you’ve gotten this far without errors, you’re ready to continue.
Recreating an LED blink Project⌗
One of the first projects you’d likely explore is blinking various on-board LEDS. With our simulator, we do not have access to physical hardware. We can create a pseudo LED program that mimics turning on/off LEDS.
When you build the demo, it will run the Blink_Demo. There’s also a more in depth demo that we can build by changing the mainCREATE_SIMPLE_BLINKY_DEMO_ONLY macro in the main.c file. By default, this should be set to 1, which is what we want.
We are going to add our own tasks to experiment with the FreeRTOS API. The first step is to remove all the code within the the main_blinky function:
void main_blinky( void )
{
    // Remove all code within this function
}
Add these two libraries to the standard import section:
/* Standard includes. */
...
#include <stdbool.h> // Add This
#include <time.h>    // Add This

/* Kernel includes. */
#include "FreeRTOS.h"
#include "task.h"
...
- Green LED: every 1000ms
- Orange LED: every 800ms
- Red LED: every 400ms
We will create three freeRTOS tasks to handle the LED toggling. Creating tasks in freeRTOS uses the xTaskCreate API call. We’re also going to write some code to mimic an LED, and write a toggle function that will turn the “LED” on or off.
struct LED {
    char* led_name;
    bool status;
};

static void toggle_led(struct LED* led)
{
    led->status = !led->status;
    time_t now;
    time(&now);
    struct tm* local = localtime(&now);

    printf("%s is %s , %02d:%02d:%02d \n",
        led->led_name, (led->status) ? "ON" : "OFF",
        local->tm_hour, local->tm_min, local->tm_sec);
}

static void led_green_handler(void* params)
{
    const TickType_t xTimerPeriod = pdMS_TO_TICKS(1000);
    struct LED green_led = { "led_green", false };
    while (1)
    {
        toggle_led(&green_led);
        vTaskDelay(xTimerPeriod);
    }
}

static void led_orange_handler(void* params)
{
    const TickType_t xTimerPeriod = pdMS_TO_TICKS(800);
    struct LED orange_led = { "led_orange", false };
    while (1)
    {
        toggle_led(&orange_led);
        vTaskDelay(xTimerPeriod);
    }
}

static void led_red_handler(void* params)
{
    const TickType_t xTimerPeriod = pdMS_TO_TICKS(400);
    struct LED red_led = { "led_red", false };
    while (1)
    {
        toggle_led(&red_led);
        vTaskDelay(xTimerPeriod);
    }
}
led_green_handler, led_orange_handler, and led_red_handler functions are our task handlers. The task handlers are doing two things from the start:
- Creating a TickType_t variable which equals the conversion of given milliseconds into ticks.
- Ticks are calculated with the following formula:
Ticks = (timeInMs * configTICK_RATE_HZ) / 1000 - creating a pseudo LED struct, and setting the toggled state to
falseinitially.
The tasks enter a forever loop. It will toggle the state of the “LED”. The task then sleeps for the calculated number of ticks using the vTaskDelay API call.
To initialize the tasks we need to add the following to the main_blinky function:
void main_blinky( void )
{
    BaseType_t status;

    status = xTaskCreate(
        led_green_handler,
        "LED_green_task",
        configMINIMAL_STACK_SIZE,
        NULL,
        2,
        NULL);
    configASSERT(status == pdPASS);

    status = xTaskCreate(led_orange_handler,
        "LED_orange_task",
        configMINIMAL_STACK_SIZE,
        NULL,
        2,
        NULL);
    configASSERT(status == pdPASS);

    status = xTaskCreate(
        led_red_handler,
        "LED_red_task",
        configMINIMAL_STACK_SIZE,
        NULL,
        2,
        NULL);
    configASSERT(status == pdPASS);

    vTaskStartScheduler();
}
The first argument is a function pointer to our task handler. Then we have a text representation of what the task is called, mostly for the developers sake. Then we have the stack size (in words not bytes), task parameters or data we want to pass to tasks, task priority, and an optional task handle.
We then kick off the freeRTOS scheduler with the vTaskStartScheduler API call.
